Setting up ChirpStack – step by step
 Timo Wevelsiep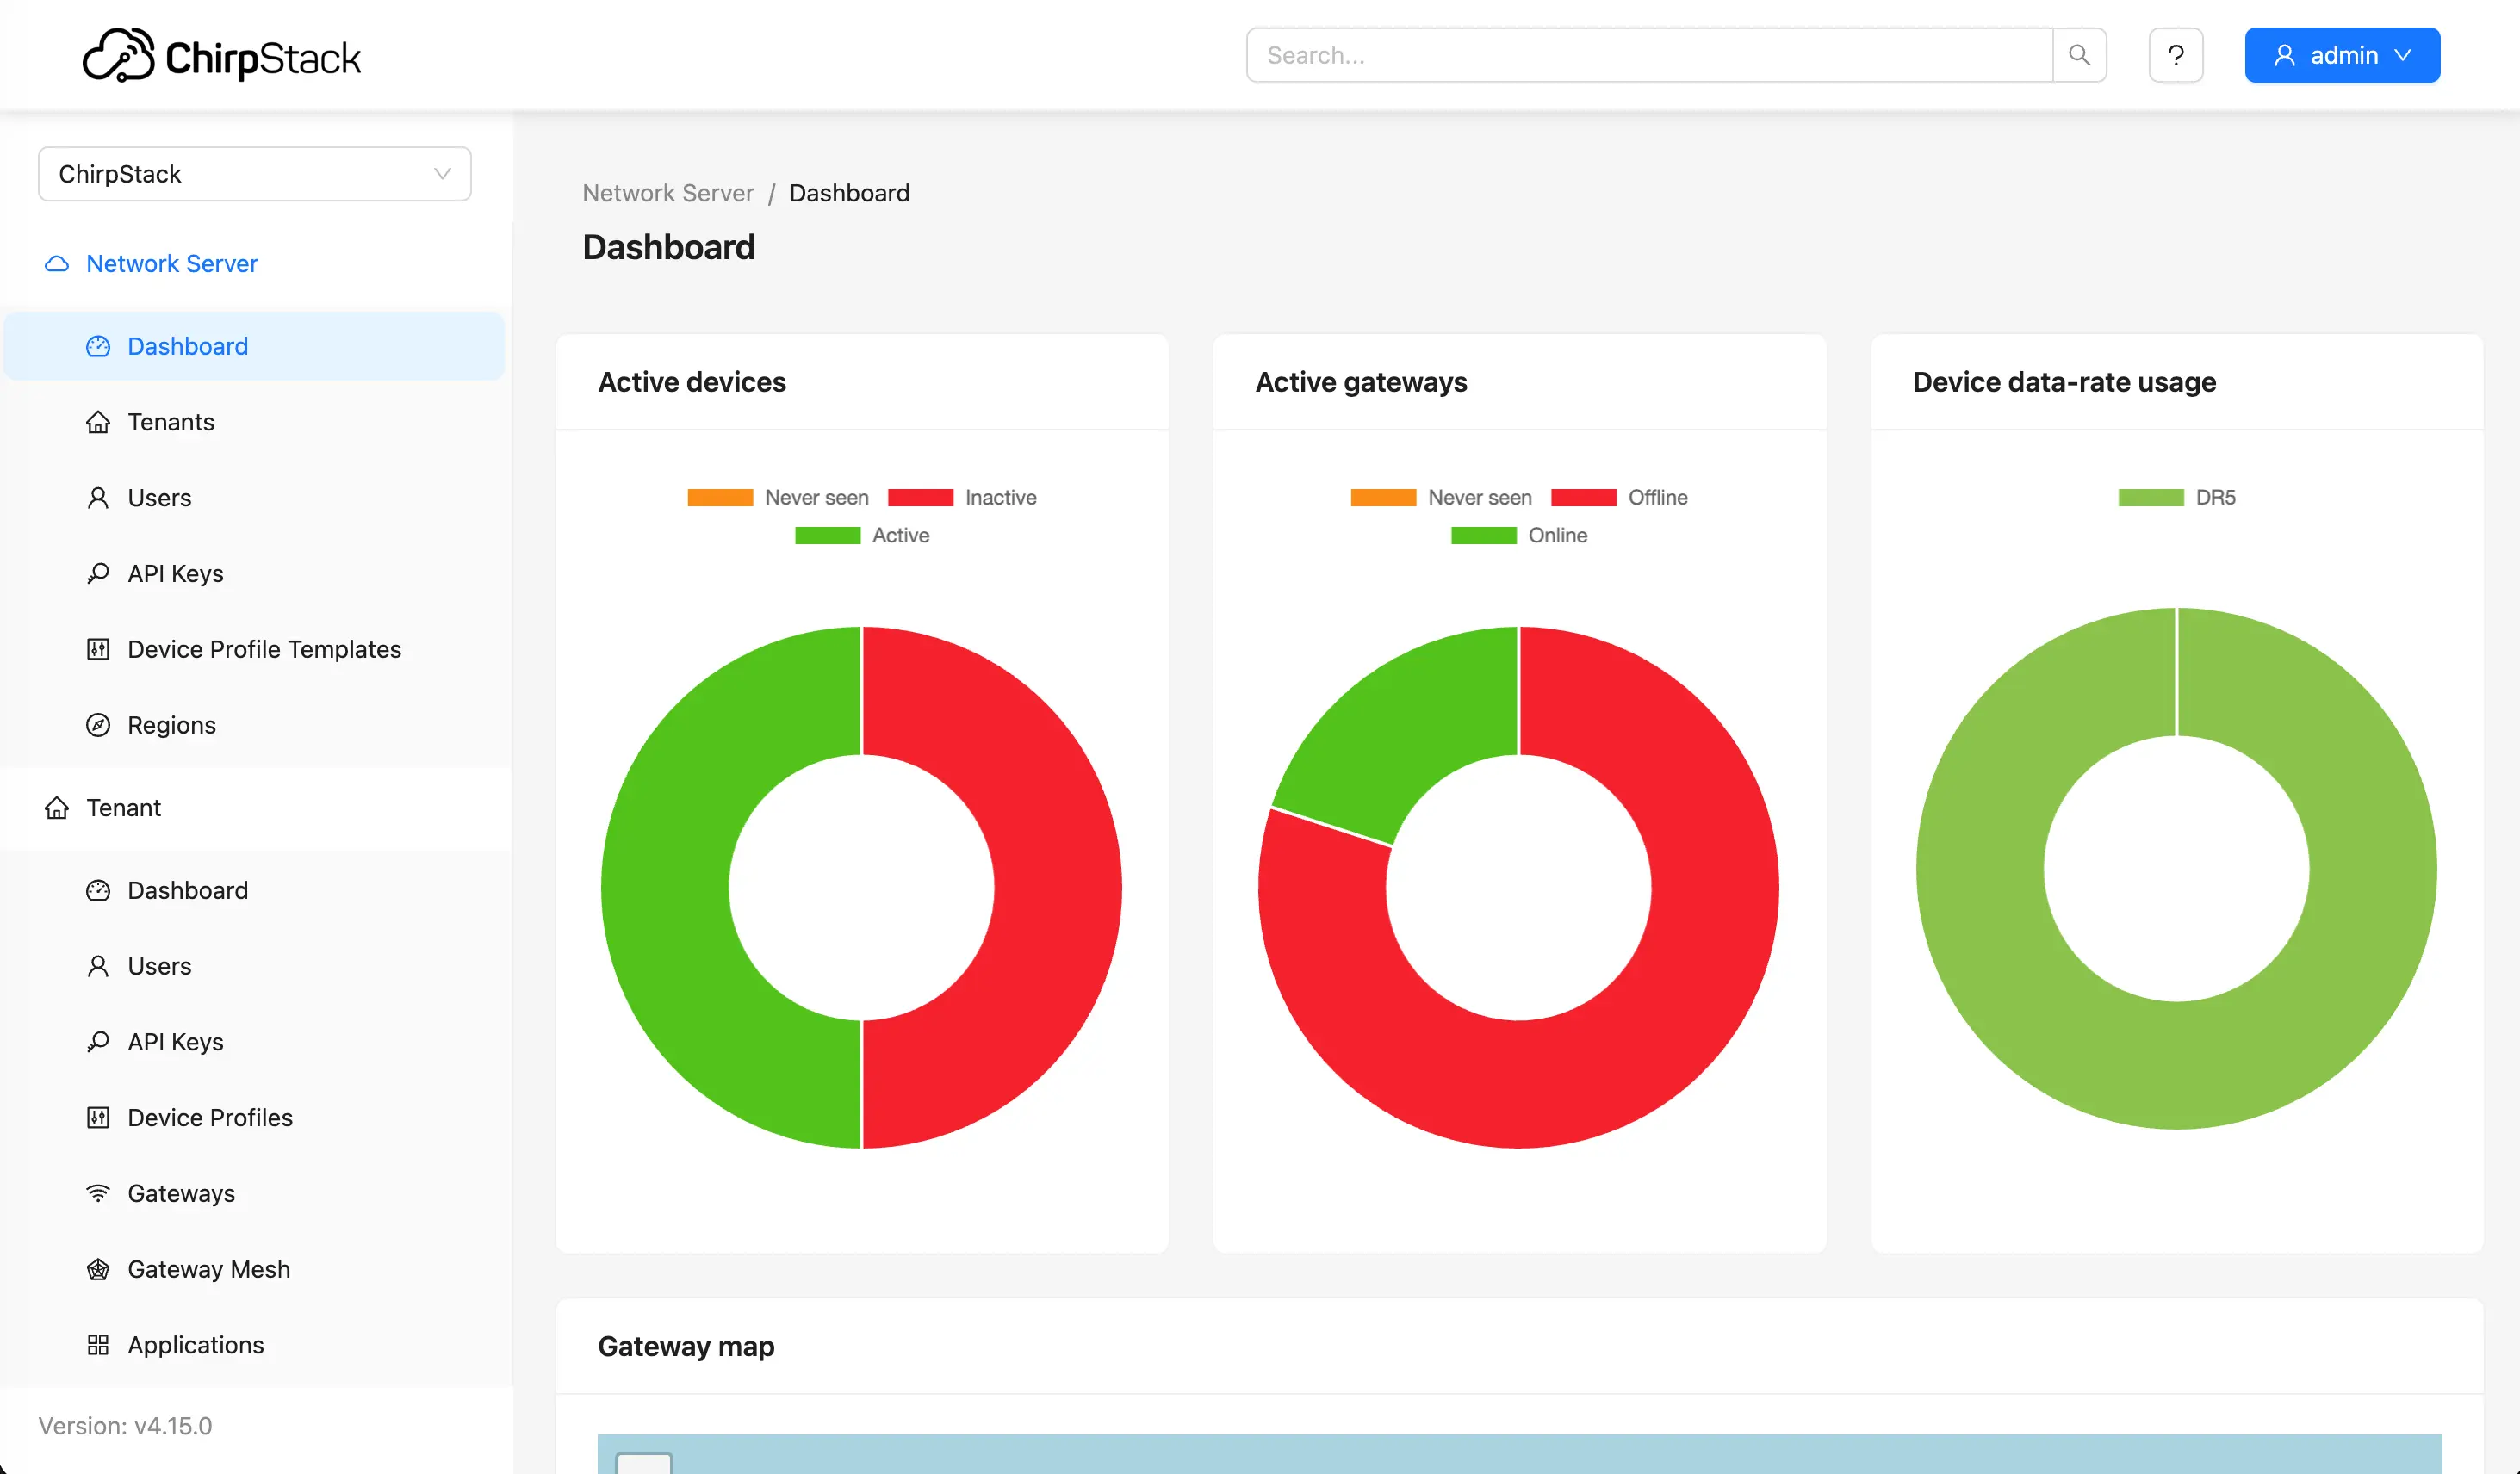
This guide walks you through a complete ChirpStack v4 installation, from installing it to the first sensor that delivers data. We show both officially supported paths, Docker Compose and the native installation via APT, and add the pitfalls that most often cause problems in production. At the end you will have a working LoRaWAN Network Server to which you can connect gateways and devices.
Practical note: The commands refer to ChirpStack v4 (as of this article: v4.18.0, May 2026). The official repositories always serve the current v4 release. Verify the official documentation before going to production, and replace every example password with your own.
Two ways to install
There are two common ways to set up ChirpStack v4, aimed at different situations:
- Docker Compose (Option A): fastest to try out, reproducible and cleanly encapsulated. All components run in containers, nothing is installed permanently on the system. Ideal for tests, demos and edge devices.
- Native installation via APT (Option B): the classic path for a dedicated server. Full control over each component, easier to monitor and secure. The right choice for long-term production.
If you just want to quickly see whether ChirpStack fits you, use Docker. For a server you run permanently, the native path is worth it. The steps after that (connecting a gateway and device) are identical for both.
Requirements
For both paths you need:
- a server with a current Debian or Ubuntu (root or sudo access)
- a LoRaWAN gateway that speaks Semtech UDP or Basics Station (e.g. Milesight, Kerlink, Dragino, RAK)
- basic familiarity with the Linux command line
- the correct frequency region for your country; in the DACH region and the rest of the EU that is EU868
For Docker (Option A) you additionally only need Docker itself; PostgreSQL, Redis and Mosquitto come as containers with the Compose setup. For the native installation (Option B) you install these components yourself; ChirpStack v4 requires PostgreSQL 13+, Redis 6.2+ and an MQTT v5 capable broker.
Option A: ChirpStack with Docker Compose
Docker Compose orchestrates all required containers (ChirpStack, Gateway Bridge, PostgreSQL, Redis, Mosquitto) from a single file. ChirpStack provides an official example repository for this that you use as a starting point.
Important upfront: The official Compose setup is explicitly meant as a test and getting-started skeleton. For production (TLS, hardened ports, your own passwords, backups) you have to adapt it. More on that at the end of this option.
A1 – Install Docker
You need Docker including the Compose plugin (Compose v2, i.e. the docker compose command with a space, not the deprecated docker-compose). The authoritative and always current guide is at docs.docker.com/engine/install/. On a current Debian/Ubuntu you install Docker from the official Docker repository:
# Full, current guide: https://docs.docker.com/engine/install/
sudo apt-get update
sudo apt-get install ca-certificates curl
sudo install -m 0755 -d /etc/apt/keyrings
sudo curl -fsSL https://download.docker.com/linux/ubuntu/gpg -o /etc/apt/keyrings/docker.asc
sudo chmod a+r /etc/apt/keyrings/docker.asc
echo \
  "deb [arch=$(dpkg --print-architecture) signed-by=/etc/apt/keyrings/docker.asc] https://download.docker.com/linux/ubuntu \
  $(. /etc/os-release && echo "$VERSION_CODENAME") stable" | \
  sudo tee /etc/apt/sources.list.d/docker.list > /dev/null
sudo apt-get update
sudo apt-get install docker-ce docker-ce-cli containerd.io docker-buildx-plugin docker-compose-plugin
Spelling: Use
docker compose(with a space, the current v2 plugin), not the deprecateddocker-composewith a hyphen. Older guides online often still show the old spelling.
A2 – Clone the repository
ChirpStack maintains a ready-made Compose skeleton at github.com/chirpstack/chirpstack-docker. Clone it and change into it:
git clone https://github.com/chirpstack/chirpstack-docker.git
cd chirpstack-docker
In the repository you will find the docker-compose.yml and a configuration/ directory with the configuration files for ChirpStack, the Gateway Bridge, Mosquitto and the PostgreSQL initialization. The bundled helper images are PostgreSQL 14, Redis 7 and Mosquitto 2; PostgreSQL and Redis data land in the Docker volumes postgresqldata and redisdata and therefore survive a restart.
A3 – Check the region and topic prefix
⚠️ Common pitfall, in the Docker path too: The Compose setup is prepared for all regions, but the Gateway Bridge instance is configured for the
eu868prefix by default. If your region differs, you have to replace theeu868prefix in the topic templates of thechirpstack-gateway-bridgeservice indocker-compose.ymlwith your region's prefix (e.g.us915_0,au915_0,in865). If the prefix does not match the active region, the gateway connects but ChirpStack never sees its data. In the Docker path this is the exact same source of error as in the native installation.
Concretely, this affects these lines in the environment block of the chirpstack-gateway-bridge service:
- INTEGRATION__MQTT__EVENT_TOPIC_TEMPLATE=eu868/gateway/{{ .GatewayID }}/event/{{ .EventType }}
- INTEGRATION__MQTT__STATE_TOPIC_TEMPLATE=eu868/gateway/{{ .GatewayID }}/state/{{ .StateType }}
- INTEGRATION__MQTT__COMMAND_TOPIC_TEMPLATE=eu868/gateway/{{ .GatewayID }}/command/#
For the DACH region it stays at eu868, so you do not need to change anything here. The list of active regions is in configuration/chirpstack/chirpstack.toml under enabled_regions; the matching topic_prefix per region is in the respective region_XXX.toml.
A4 – Start the containers
Start the whole stack. In the foreground (as the official guide shows it, good for watching the output):
docker compose up
For continuous operation, start it detached in the background:
docker compose up -d
On the first start Docker pulls all images and initializes the database, which takes a moment. You see logs and any errors with docker compose logs -f, and shut it down with docker compose down (the data stays in the volumes).
A5 – Open the web interface
Once all containers are running, you reach:
- the web interface at
http://SERVER-IP:8080/ - the REST API at
http://SERVER-IP:8090/
Log in with the default credentials: user admin, password admin.
⚠️ Change immediately: Change the default password right after the first login. A reachable Network Server with
admin/adminis an open door.
From test to operation: The Compose skeleton gets you running quickly but is not a production setup. For continuous operation it lacks TLS, a reverse proxy, hardened ports, your own passwords and a backup strategy. We take exactly this hardening off your plate, as Managed ChirpStack on European infrastructure or preinstalled on the merkaio edge pro.
Once your stack is running, jump ahead to connecting a gateway and your first device.
Option B: Native installation via APT
This path installs ChirpStack and all components directly on a Debian/Ubuntu server. It gives you full control over each component and is the recommended path for a server you run in production long term.
Step 1 – Install dependencies
ChirpStack v4 needs three building blocks in the background: PostgreSQL as the database, Redis for device and session state, and an MQTT broker (in practice Mosquitto). The official guide installs them together:
sudo apt install \
  mosquitto \
  mosquitto-clients \
  redis-server \
  redis-tools \
  postgresql
Then create the ChirpStack database, a database user and the required extension in PostgreSQL. ChirpStack v4 requires pg_trgm (and only this one; the hstore from v3 is not needed).
sudo -u postgres psql
-- create a role for authentication
create role chirpstack with login password 'chirpstack';

-- create the database
create database chirpstack with owner chirpstack;

-- switch to the chirpstack database
\c chirpstack

-- enable the required extension
create extension pg_trgm;

-- exit psql
\q
Security: Change the password
'chirpstack'to your own strong value. You then adjust thedsnaccordingly in step 3.
Step 2 – Install ChirpStack
ChirpStack is installed from the official APT repository. First add the signing key and the package source:
sudo apt install gpg
sudo mkdir -p /etc/apt/keyrings/
sudo sh -c 'wget -q -O - https://artifacts.chirpstack.io/packages/chirpstack.key | gpg --dearmor > /etc/apt/keyrings/chirpstack.gpg'
echo "deb [signed-by=/etc/apt/keyrings/chirpstack.gpg] https://artifacts.chirpstack.io/packages/4.x/deb stable main" | sudo tee /etc/apt/sources.list.d/chirpstack.list
sudo apt update
Then install ChirpStack itself and the Gateway Bridge, which translates the gateway protocol into MQTT:
sudo apt install chirpstack-gateway-bridge
sudo apt install chirpstack
Note on the Gateway Bridge: It can run on the server (simpler start) or directly on the gateway (cleaner with many sites). If it runs on the gateway, you can omit
chirpstack-gateway-bridgeon the server.
Step 3 – Configure ChirpStack
The configuration lives in /etc/chirpstack/, with a global chirpstack.toml and one file per region. In chirpstack.toml you set the database, Redis, MQTT, the active regions and the API secret:
[postgresql]
  dsn = "postgres://chirpstack:chirpstack@localhost/chirpstack?sslmode=disable"

[redis]
  servers = ["redis://localhost/"]

[network]
  # only enable the region(s) you actually need
  enabled_regions = ["eu868"]

[api]
  # generate with: openssl rand -base64 32
  secret = "INSERT-YOUR-OWN-SECRET-HERE"

[integration]
  enabled = ["mqtt"]

  [integration.mqtt]
    server = "tcp://localhost:1883/"
    json = true
Generate the API secret with openssl rand -base64 32.
Step 4 – Configure the Gateway Bridge
This is the step where most native setups fail. The Gateway Bridge configuration lives in /etc/chirpstack-gateway-bridge/chirpstack-gateway-bridge.toml.
⚠️ Common pitfall (verified): For EU868, ChirpStack v4 expects a region prefix in the gateway MQTT topics on the server side (
eu868/gateway/..., set inregion_eu868.tomlviatopic_prefix = "eu868"). The Gateway Bridge, however, ships without that prefix. If the two sides do not match, the gateway connects but ChirpStack never sees its data. So adjust the Gateway Bridge topics to the prefix:
[integration.mqtt]
  event_topic_template="eu868/gateway/{{ .GatewayID }}/event/{{ .EventType }}"
  command_topic_template="eu868/gateway/{{ .GatewayID }}/command/#"
To put this in context: this prefix only affects the gateway topics. The application event topics, through which your application later receives the sensor data (application/.../event/up), carry no prefix. This exact distinction is the most common confusion when migrating from v3.
Step 5 – Start the services
Now start both services and enable autostart:
sudo systemctl start chirpstack-gateway-bridge
sudo systemctl enable chirpstack-gateway-bridge

sudo systemctl start chirpstack
sudo systemctl enable chirpstack
You can see whether ChirpStack starts cleanly in the log with sudo journalctl -f -n 100 -u chirpstack.
Step 6 – Open the web interface
ChirpStack serves the web interface and API on port 8080. Open http://SERVER-IP:8080/ and log in with user admin and password admin.
⚠️ Change immediately: Change the default password right after the first login.
Connecting a gateway and your first device (for both options)
From here the path is identical, whether you installed ChirpStack via Docker or natively.
Connect the first gateway
For radio data to arrive, your gateway must reach the server and be registered correctly. On the gateway, configure the Semtech UDP packet forwarder to send its data to the Gateway Bridge, by default on UDP port 1700 of the server. As an alternative, the Gateway Bridge supports the LoRa Basics Station.
In ChirpStack you then create the gateway with its Gateway EUI. The manufacturer-specific steps (entering server address, port and protocol on the gateway) differ per model. For hardware that integrates cleanly into ChirpStack, see our overview of Milesight gateways and sensors.
Practical tip: The most common cause of a gateway that "does not show up" is a wrongly entered Gateway EUI, a mismatched topic prefix, or a firewall blocking UDP port 1700. Check in that order.
Register the first device
Before a sensor can deliver data, ChirpStack has to know it. To do this you create a device profile (region, LoRaWAN version, device class A/B/C) and register the device with its DevEUI and AppKey.
There are two activation methods:
- OTAA (Over-the-Air Activation): The device negotiates its keys when joining the network. More secure and the standard for most sensors.
- ABP (Activation by Personalization): The keys are hardcoded. Simpler, but less secure and less flexible.
Practical tip: When in doubt, use OTAA. Almost all modern sensors support it, and you avoid the typical ABP problems with frame counters.
Which device class (A, B or C) fits your use case is explained in detail in our article on the LoRaWAN device classes A, B and C.
Receive and verify data
Once the gateway and device are set up, the first uplink should arrive. ChirpStack publishes the data over MQTT in a fixed topic structure:
- Uplink (data from the device):
application/{APPLICATION_ID}/device/{DEV_EUI}/event/up - Downlink (command to the device):
application/{APPLICATION_ID}/device/{DEV_EUI}/command/down
To test, you can subscribe directly on the broker:
mosquitto_sub -h localhost -t "application/#" -v
A downlink command is sent as JSON and contains, among others, devEui, confirmed, the fPort (greater than 0) and the data field (Base64 encoded). Provide either data (raw bytes) or object (decoded), not both.
The decoded readings of an uplink are found in the object field.
⚠️ Important when migrating from v3: In ChirpStack v3 this field was called
objectJSONand was a string. In v4 it isobject, real embedded JSON. This breaking change is regularly missed during migration and causes downstream systems to suddenly find no values. One more detail: theobjectfield only appears when a payload codec is configured on the device profile. The raw bytes always sit in the separatedatafield (Base64).
Next step – decode the raw data
At this point ChirpStack receives data, but it is just bytes for now. To turn an uplink like 0175640367AD00046873 into real values (battery 100%, temperature 17.3 °C, humidity 57.5%, this is the format of the Milesight EM300 series), you need a payload decoder on the device profile. A dedicated guide on how to write a decoder for ChirpStack v4 from the byte specification, instead of blindly copying one, follows in this knowledge base.
Frequently asked questions
Docker or native installation, which is better?▼
How long does setting up ChirpStack take?▼
Can I run ChirpStack on a Raspberry Pi or edge device?▼
ChirpStack v3 or v4?▼
Does ChirpStack need to be reachable from the internet?▼
What if no data arrives?▼
That is a lot of manual work, and operating it comes on top.
Updates, backups, hardening, monitoring: a production LoRaWAN server needs not just setup but continuous operation. We take that off your plate, as Managed ChirpStack on European infrastructure or preinstalled and ready to run on the merkaio edge pro.

Written by
Timo Wevelsiep
Founder, merkaio
Builds and operates LoRaWAN and IoT platforms, from ChirpStack to custom applications.
LinkedIn